TinDog Solo Project

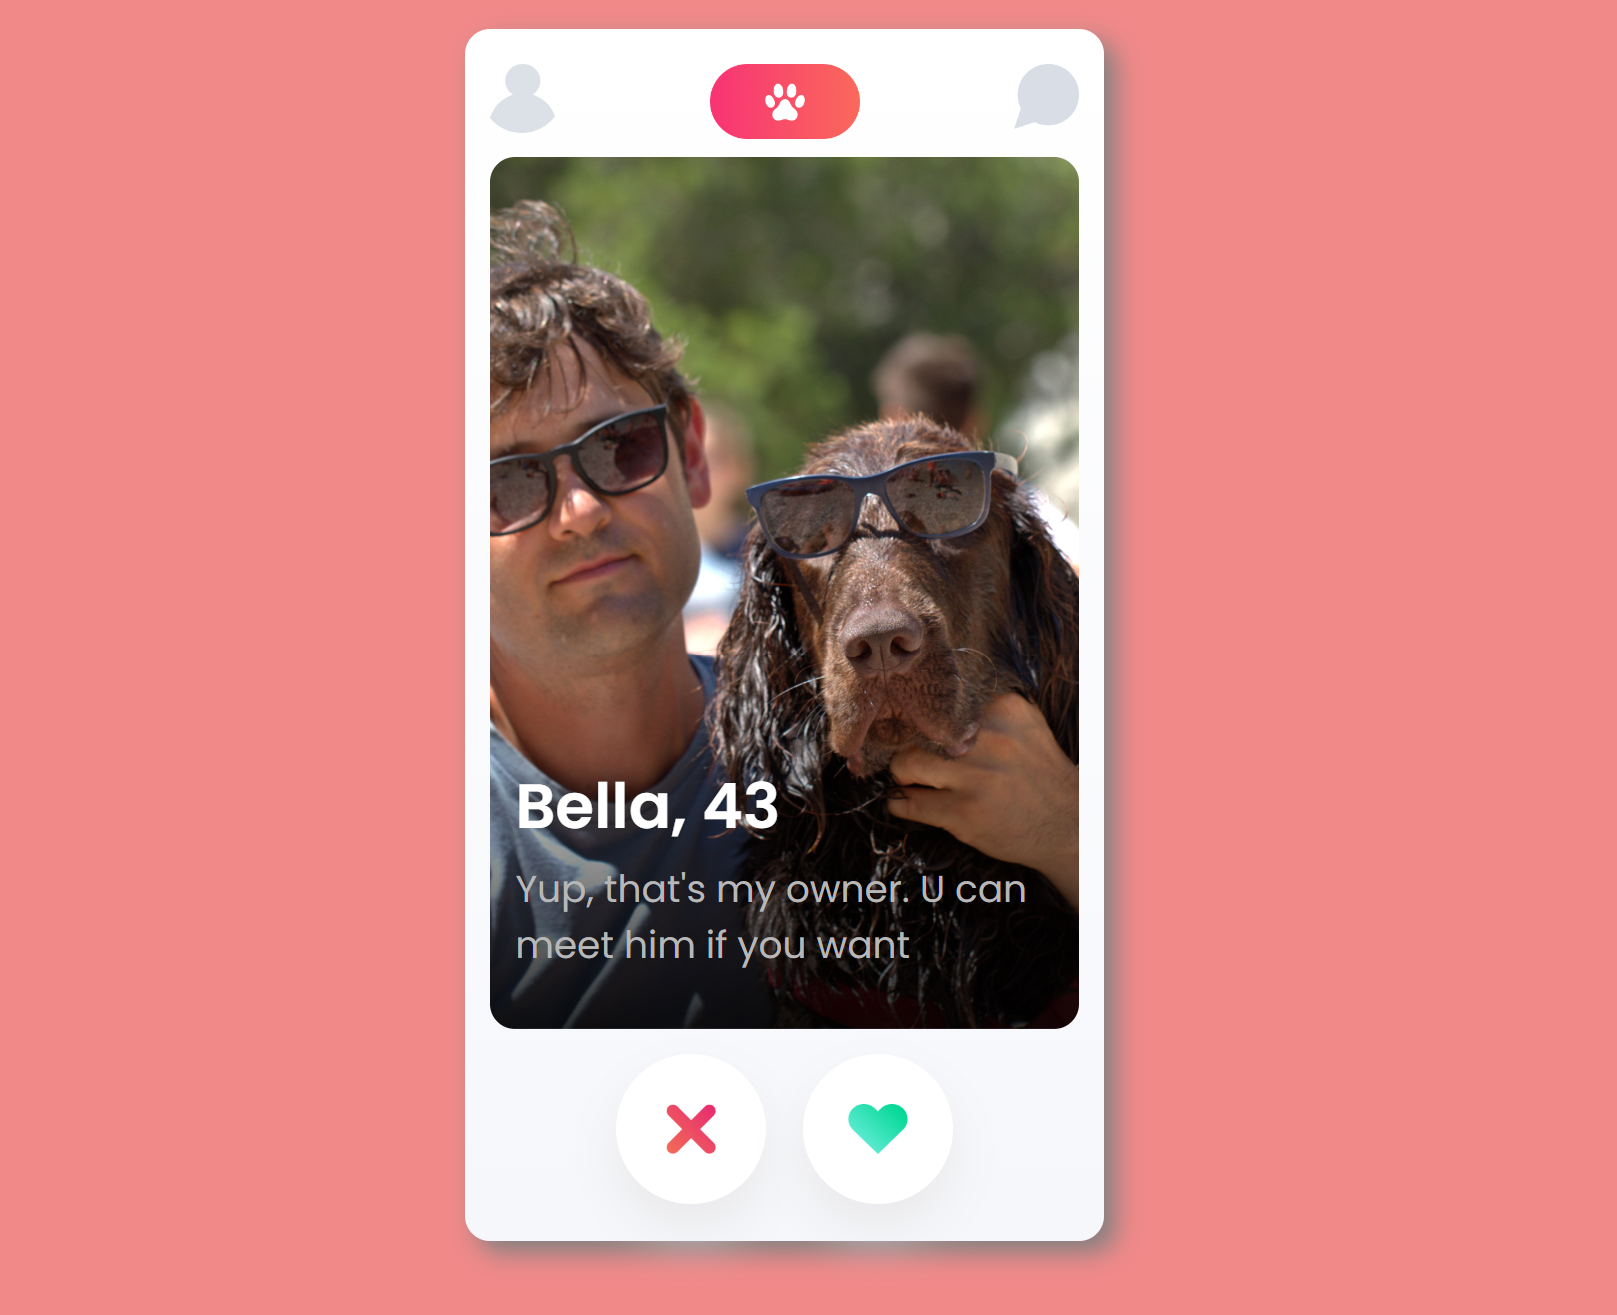
Welcome to the Tindog Solo project! It was built by using HTML, CSS, and JavaScript. The Solo means that I built it without any help on my own.
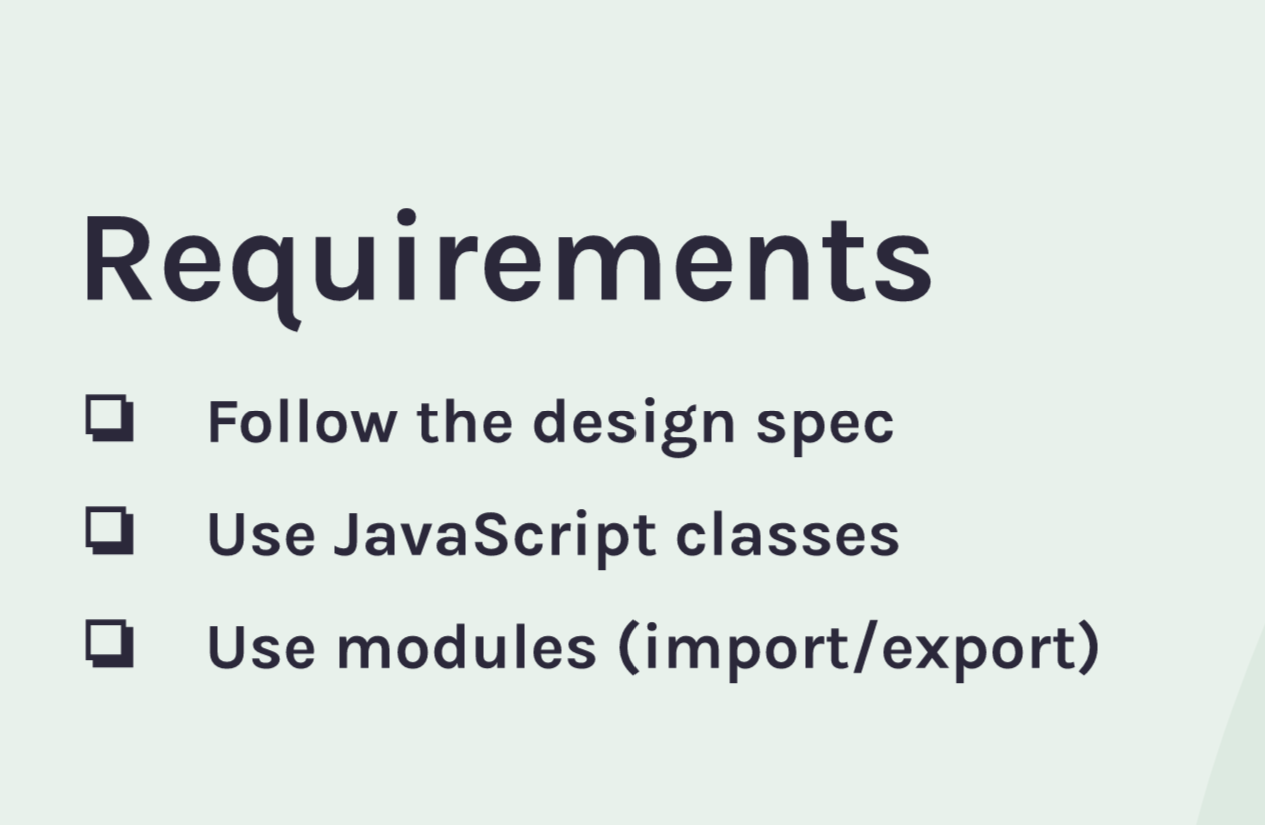
The requirements of the project were:

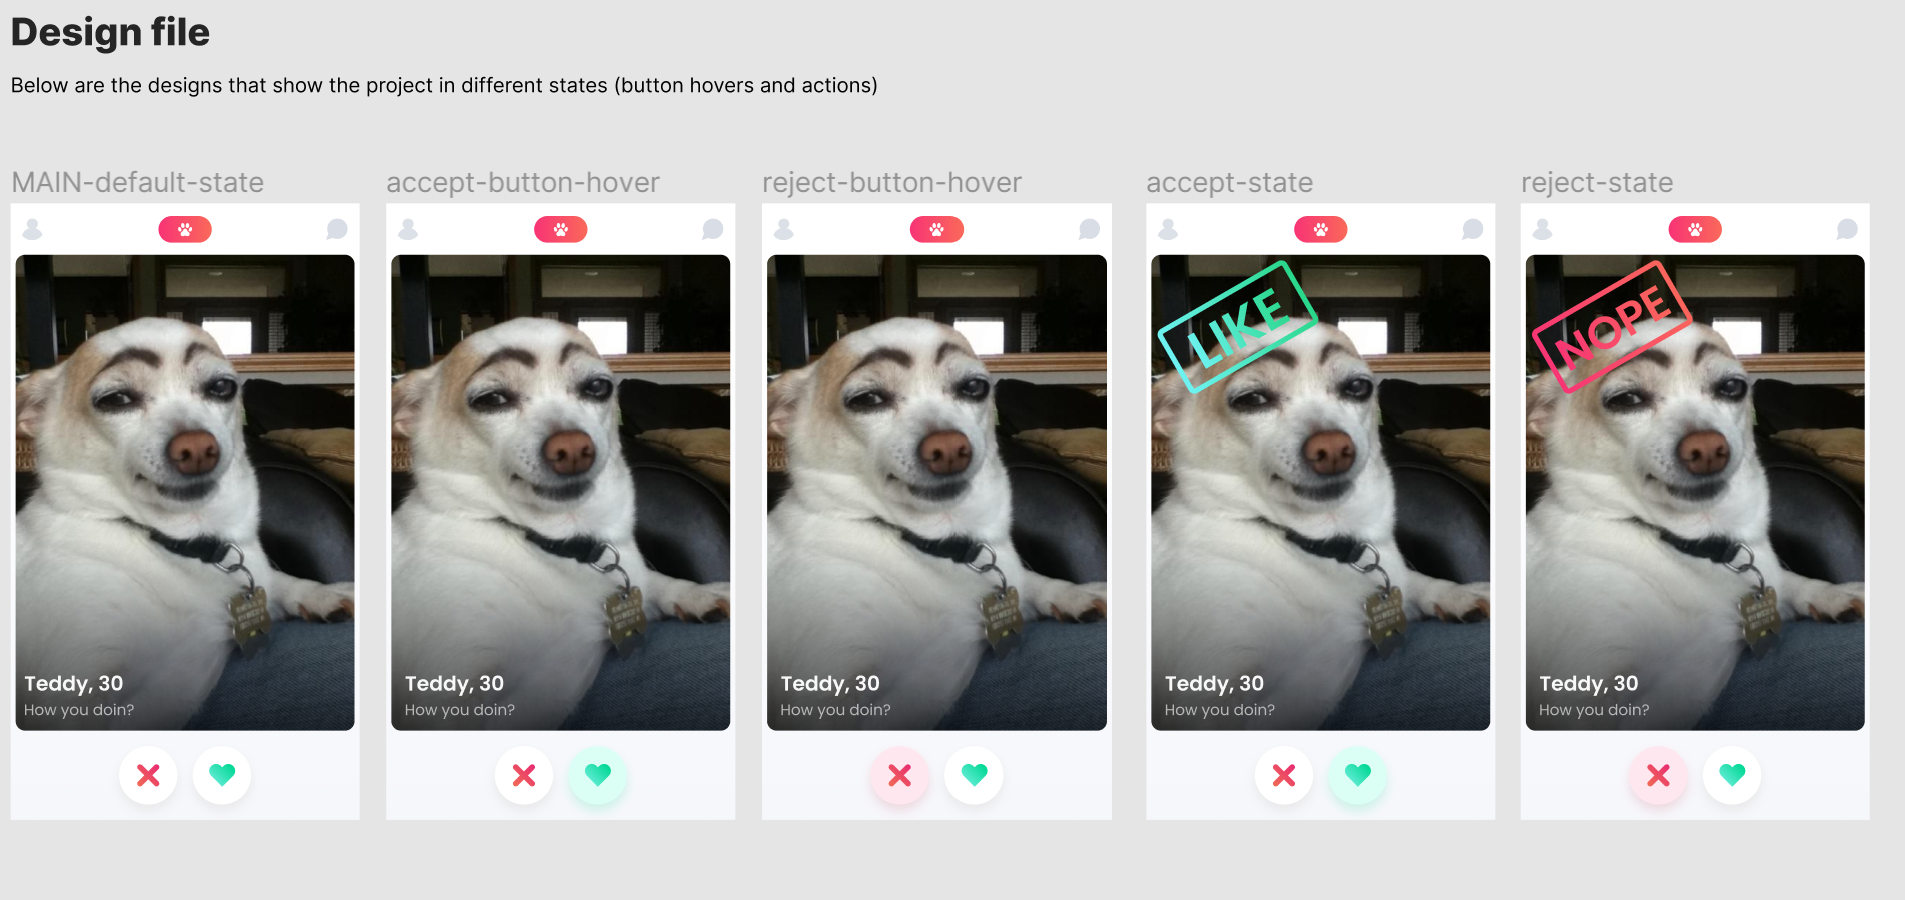
The design specs:

https://www.figma.com/file/LdlksbT0QYLpRlHrOlKDuc/Tinder-for-Dogs?node-id=0-1&t=uPdyIzqh8cFDDpMM-0
How I built it
I created a Dog class with 2 methods. One of them (likeCheck) is checking whether hasBeenLiked or hasBeenSwiped properties on the current dog object (from data.js) are true or false. If it's true (the like/dislike button has been clicked), it returns the HTML string of the corresponding badge.
The other method (getDogHTML()) returns HTML for the current dog object correspondingly. It receives all the necessary data from this object, which we previously bound with our data object, using Object.assign method.
Index.js
This is where the project gets rendered and arguments are passed to the classes. I'm getting an instance of the Dog class dynamically by using array.shift method. The reactionsRender() function is dealing with the dog.likeCheck method, which I previously created in the Dog class, reassigns the "reaction" booleans, depending on what icon the user has clicked, and passes the argument to the method by accessing the current dog object from dogs.js. It is also setting a new instance of the Dog class after a reaction badge was rendered.
The function is also watching for isWaiting boolean, which is needed because we want our buttons to work only when a new dog has been rendered.
The render function renders HTML document of the project. It is also setting some style properties on different states of the project and checks if a dog instance is available in the nextDogData array. And if it is not available...
Stretch goals
If it is not available, I created another class for dealing with the situation. It's called Finish class and it creates HTML string for all dogs, which have been liked by a user, and it even allows us to interact with them and send them messages.
The class methods are receiving their arguments from a render function in index.js file. Its methods receive likeDogs array for creating liked dogs objects HTML string and another method of the class receives a clicked dog object out of liked dogs. The last action was done with the help of e.target.closest("div.liked-dog") method. It was a new thing for me to learn.
"The closest() method searches up the DOM tree for elements which match a specified CSS selector."
One of the methods of Finish class also allows you to send a message to a chosen dog. It receives the input value when the "Enter" button is clicked (to incorporate that functionality I learned a new event listener "keypress" and a new method on an event - event.key == "Enter"), and it creates and returns the needed HTML strings for us to render in the index.js page.
Some style decisions
I did some style improvements by changing the background and setting the box- shadow on the card.